Mastering Document Clean-Up: How To Delete A Markup Area In Word
In the world of digital documents, Microsoft Word remains a powerhouse, widely used for its versatility and user-friendly features. However, with great power comes the occasional clutter of markup areas that can confuse and complicate your writing process. If you've ever found yourself staring at a document filled with comments, tracked changes, and annotations, you might be wondering how to navigate this digital maze. The good news is that removing these markup areas is not only possible but also straightforward.
Whether you are finalizing a report, collaborating on a project, or simply tidying up your work, understanding how to delete a markup area in Word can greatly enhance your document's clarity and professionalism. These markup areas, while useful for feedback and revisions, can sometimes detract from the overall aesthetics of your document. This article will guide you through the steps to declutter your Word files, ensuring that your final product is polished and ready for presentation.
In this comprehensive guide, we will explore various methods to delete markup areas in Word, addressing common questions and challenges users face. From removing comments to accepting or rejecting changes, we will cover all aspects of the markup removal process. So, whether you're a seasoned Word user or a newcomer, get ready to learn how to delete a markup area in Word and transform your documents into clear, concise pieces of work.
What Are Markup Areas in Word?
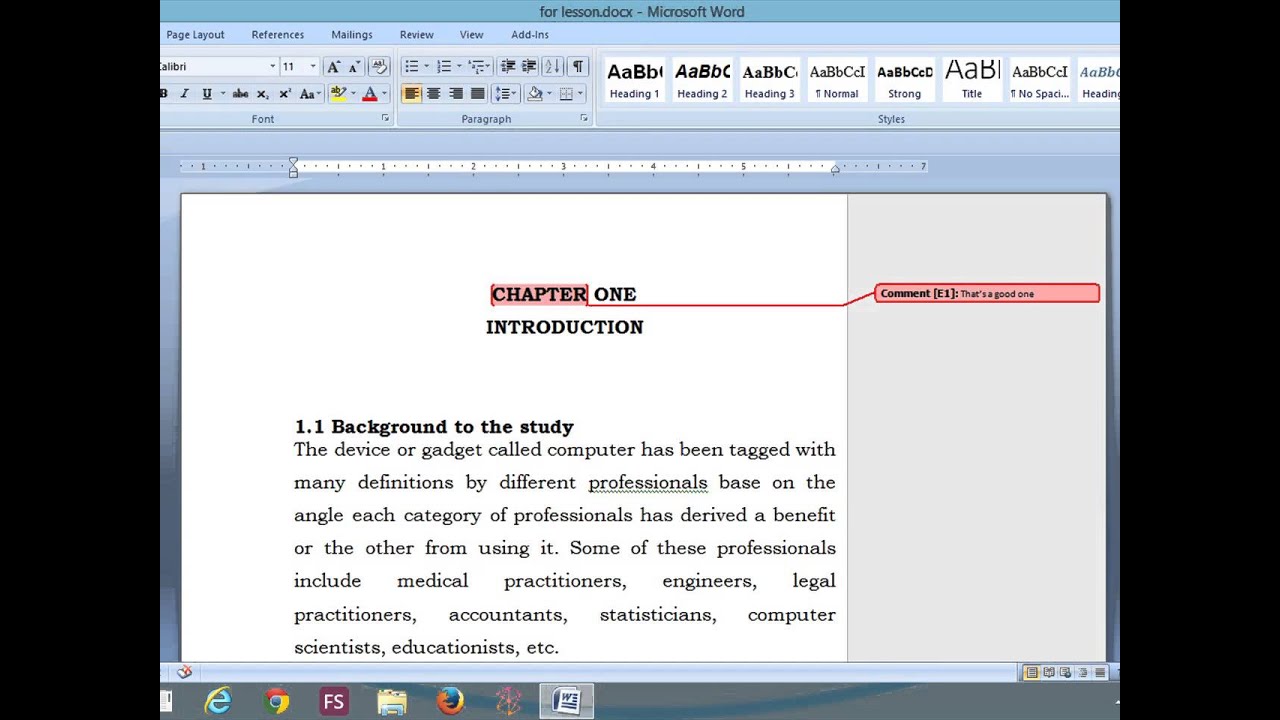
Markup areas in Word refer to the sections of a document that display comments, tracked changes, and other annotations. These features are designed to assist users in reviewing and editing documents collaboratively. Understanding what these markup areas entail is the first step in effectively managing them.
Why Do Markup Areas Appear?
Markup areas appear in a Word document when the Track Changes feature is enabled. This feature allows users to see edits made by others and add their comments. While this is incredibly useful during the editing process, it can lead to a cluttered document if not managed properly.
Types of Markup Areas
- Comments: Annotations made by users to provide feedback or ask questions.
- Tracked Changes: Edits made to the document, including insertions and deletions.
- Formatting Changes: Modifications to the document's layout or style.
How to Delete a Markup Area in Word?
Now that we understand what markup areas are, let’s delve into the methods for removing them. Deleting these areas can be done in several ways, depending on whether you want to remove comments, accept or reject changes, or clear all markup at once.
Can You Remove Comments Individually?
Yes, you can remove comments individually. Here’s how:
- Open your Word document.
- Locate the comment you wish to delete in the markup area.
- Right-click on the comment and select Delete Comment.
Is There a Way to Delete All Comments at Once?
If you have multiple comments and want to delete them all, follow these steps:
- Go to the Review tab in the ribbon.
- Click on the dropdown arrow next to Delete.
- Select Delete All Comments in Document.
How to Accept or Reject Changes in Word?
In addition to comments, you may have tracked changes that need addressing. You can either accept or reject these changes to clean up your document.
How Do You Accept Changes?
- Navigate to the Review tab.
- Click on Accept in the changes section.
- Choose Accept This Change or Accept All Changes.
What About Rejecting Changes?
- Follow the same steps as above, but select Reject instead.
- Decide whether to reject a single change or all changes at once.
How to Clear All Markup in Word?
If you want a completely clean slate, you can clear all markup areas in one go. Here’s how:
- Click on the Review tab.
- Locate the Tracking section.
- Click on the dropdown arrow next to Show Markup.
- Uncheck all options to hide markup areas.
Is It Possible to Turn Off Track Changes?
Yes, you can easily turn off the Track Changes feature:
- Go to the Review tab.
- Click on Track Changes to toggle it off.
What Happens After Deleting Markup Areas?
After you delete markup areas, your document will appear cleaner and more professional. However, it’s essential to review your content thoroughly to ensure that no critical feedback or suggestions are lost in the process.
Conclusion: Perfecting Your Documents
Learning how to delete a markup area in Word is a vital skill for anyone looking to enhance their document presentation. By effectively managing comments and tracked changes, you can ensure that your final output is polished and free of unnecessary clutter. Whether you choose to remove comments individually or clear all markup at once, these steps will help you maintain the integrity and clarity of your work. Embrace these techniques and watch your documents transform into refined pieces of art.
Unveiling The Mystery: Who Played Eldridge On Two And A Half Men?
Mastering The Craft: How To Build A Bridge In Minecraft
Unraveling The Mystery: How Did John Gotti Die?


