Effortlessly Eliminating The Markup Area In Word
Using Microsoft Word can often be a seamless experience, but it can also come with its share of distractions, especially when dealing with the markup area. This markup area can clutter your workspace and make it challenging to focus on the content you are working on. Whether you are drafting a document for work, school, or personal use, having a clean interface can significantly enhance your productivity and overall experience. In this article, we will explore effective methods of how to get rid of the markup area in Word, enabling you to streamline your workflow.
The markup area is a feature that displays comments and tracked changes, which can be incredibly useful during collaboration. However, when you are finalizing your document or simply want to review it without distractions, the markup area can become an annoyance. By knowing how to get rid of the markup area in Word, you can enjoy a cleaner view of your document and focus solely on the content that matters. This guide will provide you with step-by-step instructions and tips to help you achieve a clutter-free workspace.
As we delve into this topic, we will cover various techniques ranging from adjusting your view settings to utilizing specific commands. Whether you are a seasoned Word user or a beginner, the methods discussed here will cater to your needs. So let’s get started on transforming your Word experience and discover how to get rid of the markup area in Word efficiently.
What is the Markup Area in Word?
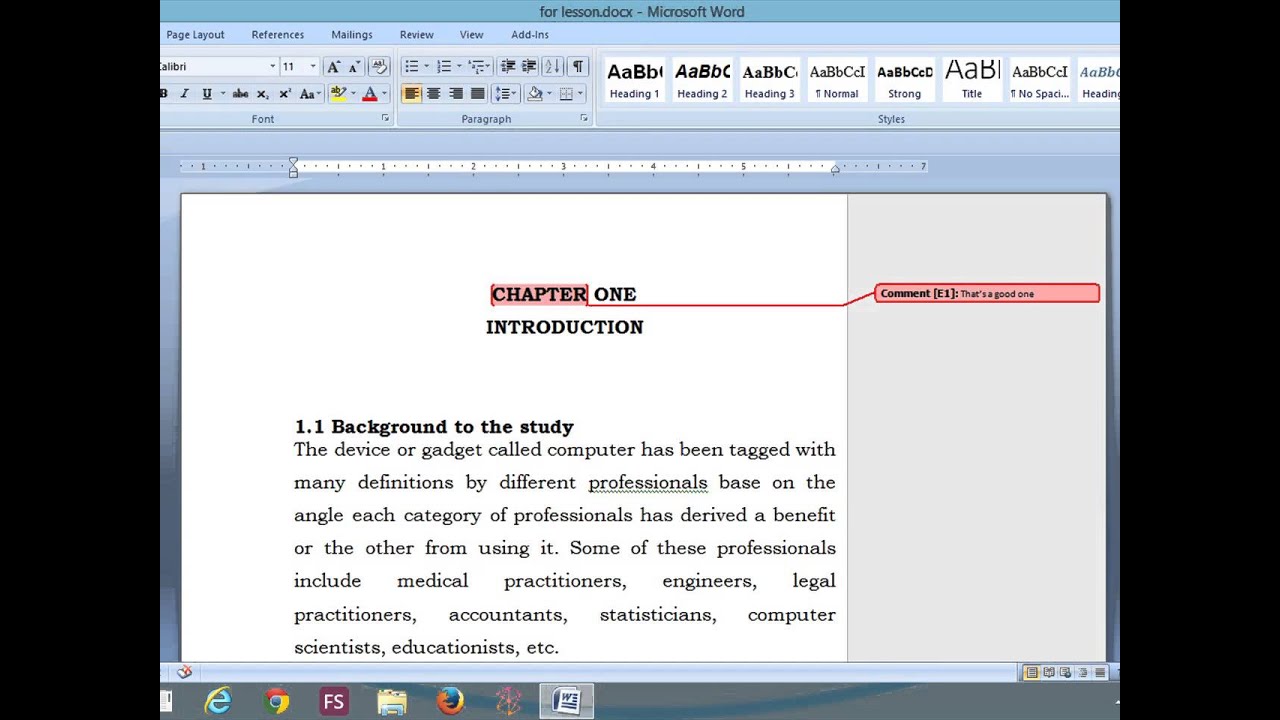
The markup area in Word serves as a visual representation of changes made to a document, allowing users to see edits, comments, and suggestions. This feature is particularly beneficial for collaborative work, where multiple individuals can provide feedback and track revisions. However, while it enhances communication among team members, it can clutter the document view for individual users. Understanding the markup area is the first step in deciding whether to keep it or remove it.
How Does the Markup Area Affect Document Viewing?
When the markup area is enabled, it can take up a significant portion of your screen, pushing the actual content of your document to the side. This can lead to difficulties in reading and editing your text, as the comments and changes may distract you from your primary task. As such, knowing how to get rid of the markup area in Word can enhance your focus and efficiency.
What Are the Benefits of Removing the Markup Area?
- Improved focus on content
- Less cluttered workspace
- Enhanced readability of the document
- Increased overall productivity
How to Get Rid of the Markup Area in Word: Step-by-Step Guide
Method 1: Adjusting the View Settings
One of the simplest ways to eliminate the markup area in Word is to adjust your view settings. Here’s how you can do it:
- Open your Word document.
- Navigate to the "Review" tab in the ribbon.
- Look for the "Tracking" group and click on "Display for Review."
- Select “No Markup” from the dropdown menu.
By selecting “No Markup,” you will hide all markup changes, allowing you to see the document as it would appear when finalized.
Method 2: Hiding Comments and Markup
If you want to keep the markup area hidden without changing the view settings, you can hide comments and markup directly:
- Go to the "Review" tab.
- Click on the small arrow in the corner of the "Tracking" group to open the settings.
- Uncheck the box next to “Comments” and “Insertions and Deletions.”
This action will hide comments and markup while allowing you to maintain the original document format.
What if I Want to Keep the Markup for Future Reference?
Sometimes, you might want to keep the markup area accessible for reference while still working on your document. In such cases, consider these alternative methods:
Using Print Layout View
Switching to the Print Layout view can also help minimize the visibility of the markup area. Here’s how:
- Go to the "View" tab.
- Select “Print Layout” from the options.
This allows you to view your document in its intended printed format, which can reduce distractions.
How to Use Comments Efficiently Without Cluttering Your Document?
When working with comments, consider these tips for managing them effectively:
- Summarize comments at the end of the document.
- Use color coding for different reviewers.
- Delete unnecessary comments once addressed.
What are Some Advanced Techniques to Manage Markup in Word?
If you frequently collaborate on documents, consider mastering some advanced techniques to manage markup effectively:
Method 3: Customizing Markup Options
Word allows users to customize how markup is displayed. To do this:
- In the "Review" tab, find the “Track Changes Options.”
- Select the options you want to customize, such as changing color or the display of changes.
This customization can help you tailor the markup area to suit your preferences while still allowing you to keep track of necessary edits.
Method 4: Finalizing Your Document
Once you have completed your revisions and no longer need the markup area, you can finalize your document:
- Go to the "Review" tab.
- Click “Accept” or “Reject” to finalize changes.
- Choose “Final” in the “Display for Review” dropdown.
By finalizing your document, you will effectively remove the markup area and present a polished version of your work.
Conclusion: Enjoying a Clean Workspace in Word
Understanding how to get rid of the markup area in Word can significantly enhance your writing and editing experience. Whether you choose to adjust your view settings, hide comments, or finalize your document, the techniques discussed here will help you maintain a clean and focused workspace. By implementing these strategies, you can improve your productivity and enjoy a more efficient workflow while using Microsoft Word.
Unraveling The Mystery: What Happened To The Band?
Embracing Solitude: Discovering The Best Single Life Quotes
Wishing You Good: The Power Of Positive Wishes


