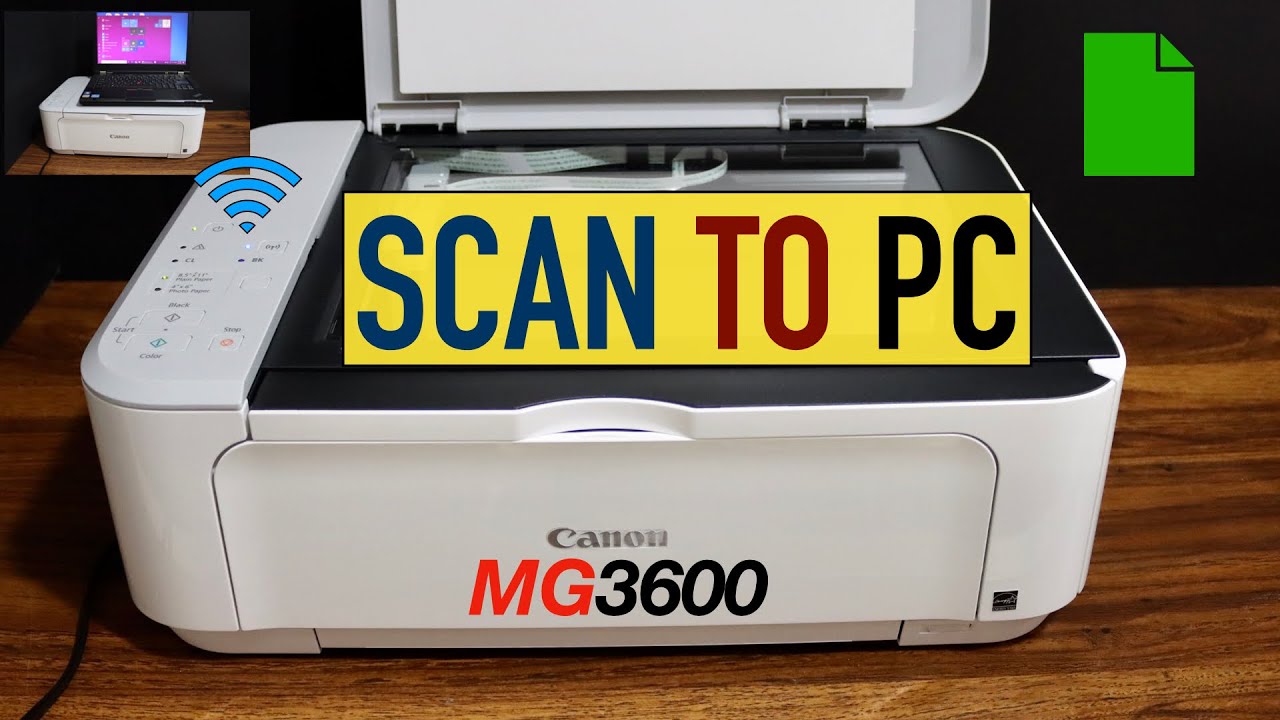
Mastering The Art Of Scanning: How To Scan Printer To Computer
In today's digital age, the ability to scan documents directly from a printer to a computer has become an essential skill. Whether you're a student, a professional, or someone who just wants to keep their documents organized, knowing how to scan printer to computer can save you time and effort. Scanning documents allows you to create digital copies of important papers, which can then be easily shared, stored, or edited. This guide will walk you through the process, making it simple and straightforward, regardless of your technical expertise.
Many modern printers come equipped with scanning capabilities, enabling users to convert physical documents into digital files with just a few clicks. However, the actual steps to perform this task can vary significantly depending on the printer model and the operating system you're using. This article aims to clarify these differences and provide you with a comprehensive understanding of how to scan printer to computer.
From setting up your printer to troubleshooting common issues, we've got you covered. By the end of this guide, you'll not only know how to scan printer to computer but also feel confident in your ability to manage your scanning tasks efficiently. Let’s dive in!
What Equipment Do You Need to Scan Your Printer to a Computer?
Before you can start scanning, it's important to ensure that you have the right equipment. Here's a quick list of what you'll need:
- A printer with scanning capabilities.
- A computer with the appropriate software or drivers installed.
- A USB cable or a wireless connection, depending on your printer model.
- A document to scan.
How Do You Connect Your Printer to Your Computer?
Establishing a connection between your printer and computer is the first step in the scanning process. There are two main methods to connect your devices:
Wired Connection
For a wired connection, follow these steps:
- Locate the USB cable that came with your printer.
- Plug one end of the USB cable into the printer and the other end into an available USB port on your computer.
- Turn on the printer and ensure that it is recognized by your computer.
Wireless Connection
If you prefer a wireless connection, follow these steps:
- Ensure that your printer is connected to the same Wi-Fi network as your computer.
- On your printer, go to the settings menu and navigate to the wireless setup option.
- Follow the on-screen instructions to connect to your Wi-Fi network.
How to Scan Printer to Computer: Step-by-Step Guide?
Now that your printer is connected to your computer, you can begin the scanning process. Here’s a step-by-step guide:
Step 1: Prepare Your Document
Place the document you wish to scan face down on the scanner bed. Ensure that it is aligned correctly, usually indicated by a guide or markings on the scanner.
Step 2: Open the Scanning Software
On your computer, locate the scanning software. This could be the printer's dedicated software or a built-in application like Windows Fax and Scan or Image Capture on Mac.
Step 3: Select Your Scanner
When the scanning software opens, select your printer from the list of available devices. Make sure to choose the correct model to avoid any issues.
Step 4: Choose Scan Settings
Adjust the scan settings according to your preferences. You may want to select options like color mode, resolution, and file format (PDF, JPEG, etc.).
Step 5: Start Scanning
Click the "Scan" button to begin the scanning process. Wait for the scanner to complete the task, and ensure that the document is scanned correctly.
Step 6: Save Your Scanned Document
After scanning, you will have the option to save the file. Choose a location on your computer where you can easily find it later.
What Should You Do if the Scan Does Not Work?
Sometimes, scanners can be finicky. If you encounter issues, consider the following troubleshooting tips:
- Check all connections: Ensure that the USB cable is securely connected or that the printer is on the correct Wi-Fi network.
- Update drivers: Make sure that your printer drivers are up to date.
- Restart devices: Sometimes, a simple restart of both your printer and computer can resolve scanning issues.
- Consult the manual: Refer to the printer's user manual for specific troubleshooting steps.
How to Scan Multiple Pages to Computer?
If you need to scan multiple pages, most modern printers come with an Automatic Document Feeder (ADF). Here’s how to use it:
- Load the pages into the ADF tray.
- Follow the same steps as above, but select the option for multiple pages in the scanning software.
- After scanning, ensure that all pages have been saved correctly.
Conclusion: How to Scan Printer to Computer Like a Pro?
Learning how to scan printer to computer is a valuable skill that can enhance your productivity and organization. By following the steps outlined in this guide, you’ll be able to scan documents easily and troubleshoot common issues along the way. Remember to keep your software and drivers updated, and don’t hesitate to consult your printer’s manual for additional help. With practice, you’ll become proficient in scanning, making your workflow smoother and more efficient.
Unveiling The Stars: Who Are The People In The T-Mobile Commercial?
Mastering The Art Of Asking For Money
Unraveling The Mystery: What Happened To Jschlatt In 1999?
/how-to-scan-from-printer-computer-1-97c5bf309a29400a92d8ba96f4af302b.jpg)


/how-to-scan-from-printer-computer-1-97c5bf309a29400a92d8ba96f4af302b.jpg&description=Unraveling%20The%20Mystery%3A%20What%20Happened%20To%20Jschlatt%20In%201999%3F)